Our
last game in SESWC was another meeting with Bolt
Action system. This time Colin Jack put our game during the Allied campaign against Vichy
French in Syria and Lebanon, known as
Operation Exporter. Campbell Hardie commanded the Vichy
French, and I commanded the Allies, whilst Colin umpired the game. All figures
(28mm), terrains, buildings and game mate ware from Colin's
collection.
Nasza
ostatnia gra w SESWC to następne spotkanie z systemem Bolt
Action. Tym razem Colin
Jack umiejscowił naszą grę w czasie alianckiej kampanii przeciwko
Francji Vichy w Syrii i Libanie, znanej jako Operacja Exporter.
Siłami Francuzami Vichy dowodził Campbell Hardie, Aliantami – ja,
Colin prowadził grę. Wszystkie figurki (28mm), tereny, budynki oraz
mata do gry pochodzą z kolekcji Colina.
 |
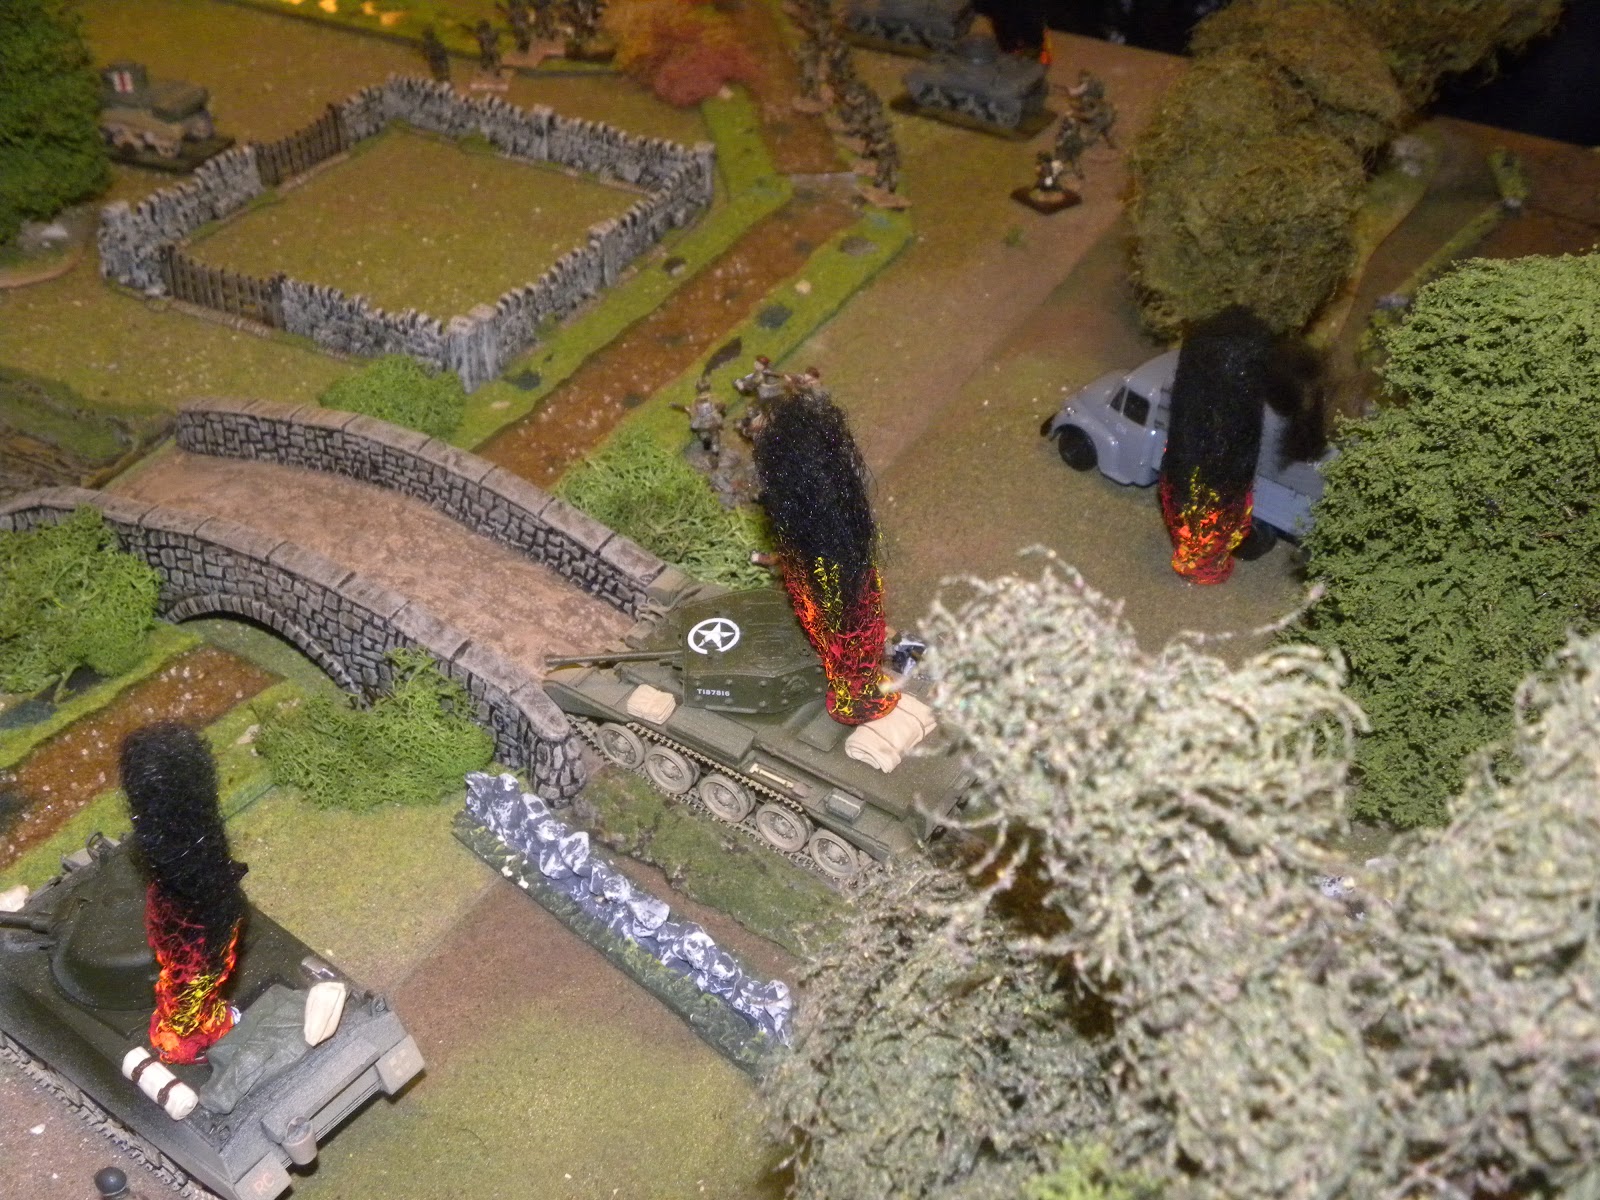
| The battlefield. Pole bitwy. |

The aim of the game was to control the Syrian town.
At the beginning of the game both sides led the race as soon as
possible to control as much as possible buildings in the city. At the
end Vichy took 5 buildings, and the Allies took 3. In the meantime,
two French tanks (R35) carried out an assault on the left flank of
the Allied and Australian squad came under machine-gun fire form that
tanks. Fortunately, Australians get down to the ground and
miraculously survived. To help this unit arrived British support: 2
armored cars (Ford with 2pdr gun and ACW-IP), which opened fire on
the French tanks, sadly missed. French response was very fast. The
fire from R35 gun destroyed Ford, but using the turmoil Australians
escaped to the nearest the building. The second of the R35 tanks
rolled over ACW-IP, and the Allies lost their support on this flank.
Then there was a sudden attack of Arab cavalry, which
attacked the tanks. Devoid of anti-tank weapons were not able to
damage these AFV, but I almost burned one. The crews of the two tanks
tightly closed their hatches and to the end of the game no longer
played any role. On the right wing of the
allied was the artillery duel beetween the Dodge Tanaka and Schneider
Armored Car. Frenchman managed to immobilize the British vehicle, but
was soon has been crushed by British 2 pounder. When the armored
battles have been finished infantry came into action. The
various units have begun to storm buildings. This started a very
bloody melee. Unfortunately the Bolt Action
system, in my opinion, has a very disagreeable failture. It's about
solving a result of melees. It is based on the
fact that both sides throwing dices and losses are calculated, the
one who lose more figures lose the duel. It seems that everything is
fine, but is not ... Imagine that the I attacked unit 4 men, with a
unit of 10 men, an opponent lost 2 figures, I lost 3 and I lost fight
and now is the best: the loser loses whole unit... It
seems to me a little bit not quite true. I know there were some
situations where one soldier has captured several enemy soldiers, but
it was an extreme situation. Losers usually retreated or fled.
It seems to me that it would be sensible here for
additional test for morale (one could add some minuses, etc.), and
just as it fails this test, you lose a unit. I am curious of your
opinion (the official forum remains silent on this issue ...).
Returning to the game. The French attacked the
building occupied by the British MG and took it. Australians who have
just escaped from the French tanks retook the building, and were
backed by the Free French. Then the Australians took the next
building, vacant by anybody, while the Free French were shot by Vichy
HQ and stopped in front of the building. The Australians then decided
to take by storm building occupied by Vichy HQ, but were broken in
the melee ... This activities ended all actions in this section of
the battlefield. At the other end of the city, British commandos
began firing the French positions in a building across the street.
When it seemed that the defense of that building has already been
crushed, the Free French moved to attack, but they failed, and unit
has been gone. Then Vichy rushed to counter-offensive and commandos
were broken. At this point, the game finished. Vichy won the game,
which was in possession of more buildings. It is worth mentioning
that at the end of the game appeared the French plane and several
British commandos been killed, which facilitated the later assault on
the building occupied by them.
It was
another game using the Bolt Action
rules. I'm still positive about them, but the problem with melee must
be somehow resolved. We will think about it, but I'm curious about
your solutions.
Next game will be at Hugh and again using the Bolt
Action rules.
Celem
naszej gry było opanowanie syryjskiego miasteczka. Na początku gry
obie strony prowadziły wyścig by jak najszybciej opanować jak
najwięcej budynków w mieście. W końcu Vichy zajęło 5 budynków,
a Alianci zajęli 3. W międzyczasie dwa francuskie czołgi (R35)
przeprowadziły szturm na lewe skrzydło alianckie i oddział
australijski dostał się pod ogień karabinów maszynowych czołgów.
Na szczęście Australijczycy rzucili się na ziemię i cudem
przeżyli. Na pomoc temu oddziałowi ruszyło brytyjskie wsparcie: 2
samochody pancerne (Ford z działem 2 funtowym i ACW-IP), które
otworzyły ogień do francuskich czołgów, niestety niecelny.
Odpowiedź Francuzów była bardzo szybka. Salwa z działa R35
rozniosła Forda, ale korzystając z zamieszania Australijczycy
ukryli się w budynku. Drugi z czołgów R35 rozjechał ACW-IP i
Alianci zostali pozbawieni wsparcia na tym skrzydle. Wtedy nastąpił
niespodziewany atak arabskiej kawalerii, która zaatakowała czołgi.
Pozbawiona broni przeciwpancernej nie była w stanie uszkodzić tych
wozów, ale o mało co nie spaliła jednego. Załogi obu czołgów
szczelnie zamknęły swoje włazy i do końca gry nie odegrały już
żadnej roli. Na prawym alianckim skrzydle pojedynek artyleryjski
prowadziły ze sobą Dodge Tanake i Samochód Pancerny Schneider.
Francuzowi udało się unieruchomić brytyjski pojazd, jednak wkrótce
został rozniesiony, przez działo 2 funtowe. Gdy pojedynki pancerne
zostały zakończone do akcji weszła piechota. Poszczególne
oddziały zaczęły szturmować budynki. Wywiązała się bardzo
krwawa walka wręcz. Niestety system Bolt Action, w mojej
opinii, ma bardzo przykrą wadę. Chodzi o rozwiązanie wyniku walki
wręcz. Polega ona na tym, że obie strony rzucają kostką i
obliczane są straty, ten kto straci więcej figurek przegrywa.
Wydaje się, że wszystko jest w porządku, otóż nie... wyobraźcie
sobie, że zaatakowałem oddział 4 osobowy, oddziałem 10 osobowym,
przeciwnik stracił 2 figury, ja 3 i przegrałem pojedynek i teraz
następuje najlepsze: przegrywający traci cały oddział... Wydaje
mi się to trochę nie do końca zgodne z prawdą. Wiem, ze zdarzały
się takie sytuacje, kiedy jedna osoba brała do niewoli kilku
wrogich żołnierzy, ale to była sytuacja ekstremalna. Przegrani
przeważnie wycofywali się lub uciekali. Wydaje mi się, że
sensowny byłby tutaj dodatkowy test na morale (można by dodać
jakieś minusy itp.) i dopiero jak tego testu nie przejdzie to traci
się taki oddział. Ciekawy jestem Waszych opinii (oficjalne forum
milczy w tej sprawie...). Wracając do gry. Francuzi zaatakowali
budynek zajęty przez brytyjski km i zajęli go. Australijczycy,
którzy właśnie umknęli spod armat francuskich czołgów odbili
ten budynek i zostali wsparci przez wolnych Francuzów.
Australijczycy zajęli wtedy następny budynek, nieobsadzony przez
nikogo, z kolei Wolni Francuzi zostali ostrzelani przez HQ Vichy i
zatrzymani przed budynkiem. Australijczycy postanowili wtedy szturmem
zająć budynek zajmowany przez HQ Vichy, ale zostali rozbici w walce
wręcz... To zakończyło działania w tej części pola walki. Na
drugim końcu miasta, brytyjscy komandosi rozpoczęli ostrzał
francuskich pozycji w budynku naprzeciwko. Kiedy wydawało się, że
obrona tego budynku została już skruszona, do ataku ruszyli Wolni
Francuzi, ale i tu atak wręcz się nie powiódł i oddział ten
został rozbity. Wtedy ruszyło kontrnatarcie Vichy i komandosi
zostali rozbici. W tym momencie zakończyliśmy grę. Wygrało Vichy,
które było w posiadaniu większej ilości budynków. Warto dodać,
że pod koniec gry pojawił się również francuski samolot i zabił
mi kilku komandosów, co ułatwiło późniejszy szturm na budynek
przez nich zajmowany.
Była
to kolejna gra z użyciem zasad Bolt Action. Jestem cały czas
pozytywnie nastawiony do nich, jednak problem z walką wręcz musi
być w jakiś sposób rozwiązany. Będziemy nad tym myśleć, ale
jestem ciekaw Waszych rozwiązań.
Następna
gra będzie u Hugh i znowu z użyciem zasad Bolt Action.
 |
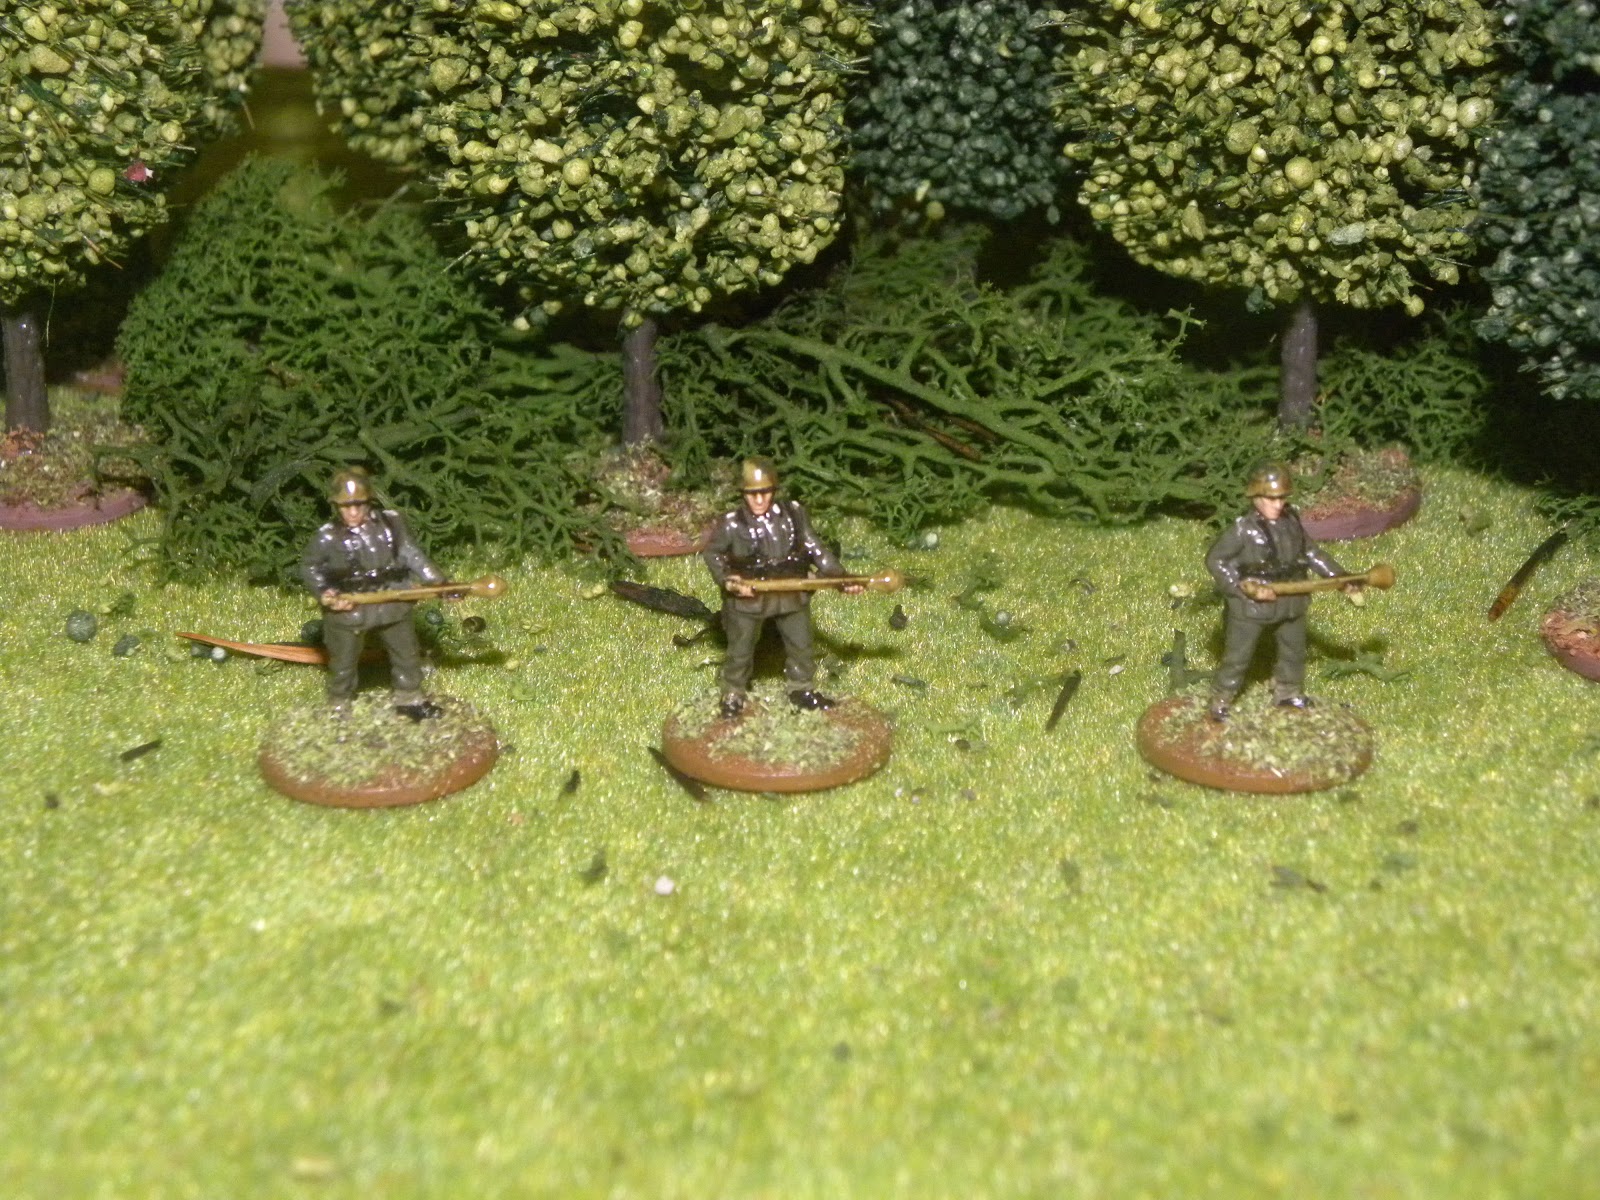
| Allied. Alianci. |
 |
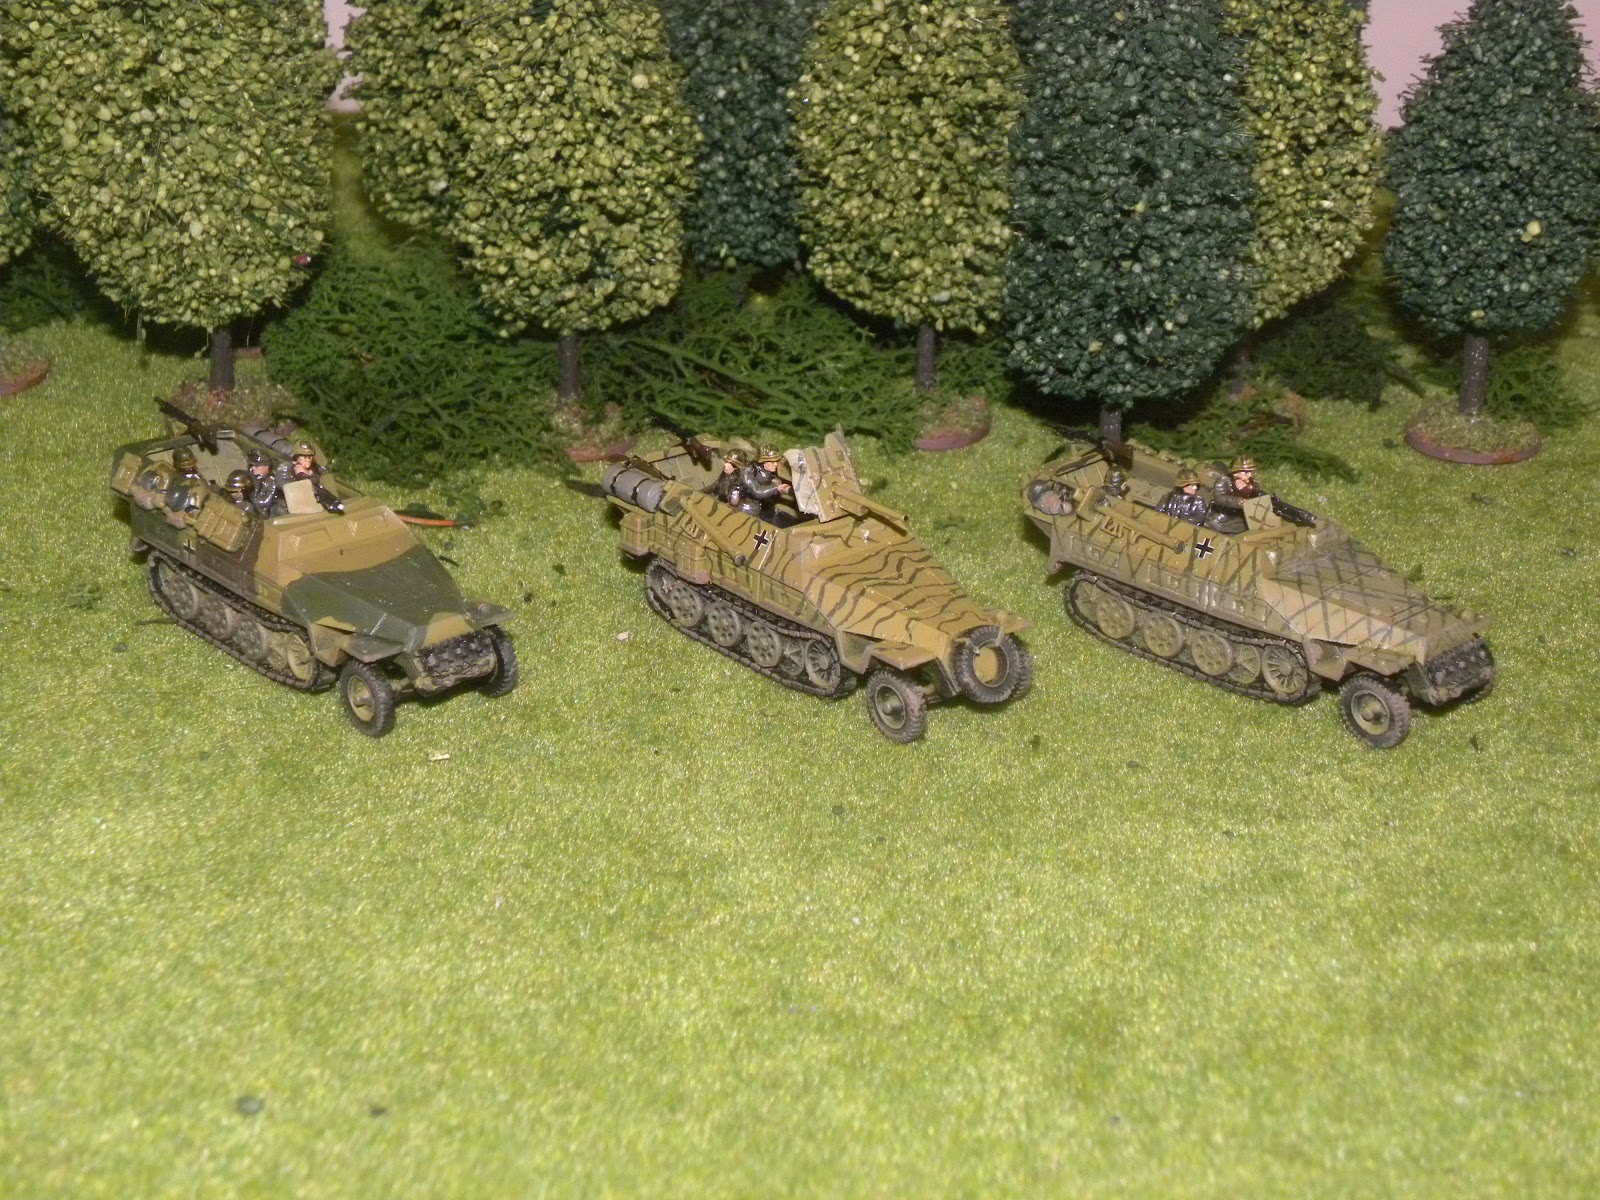
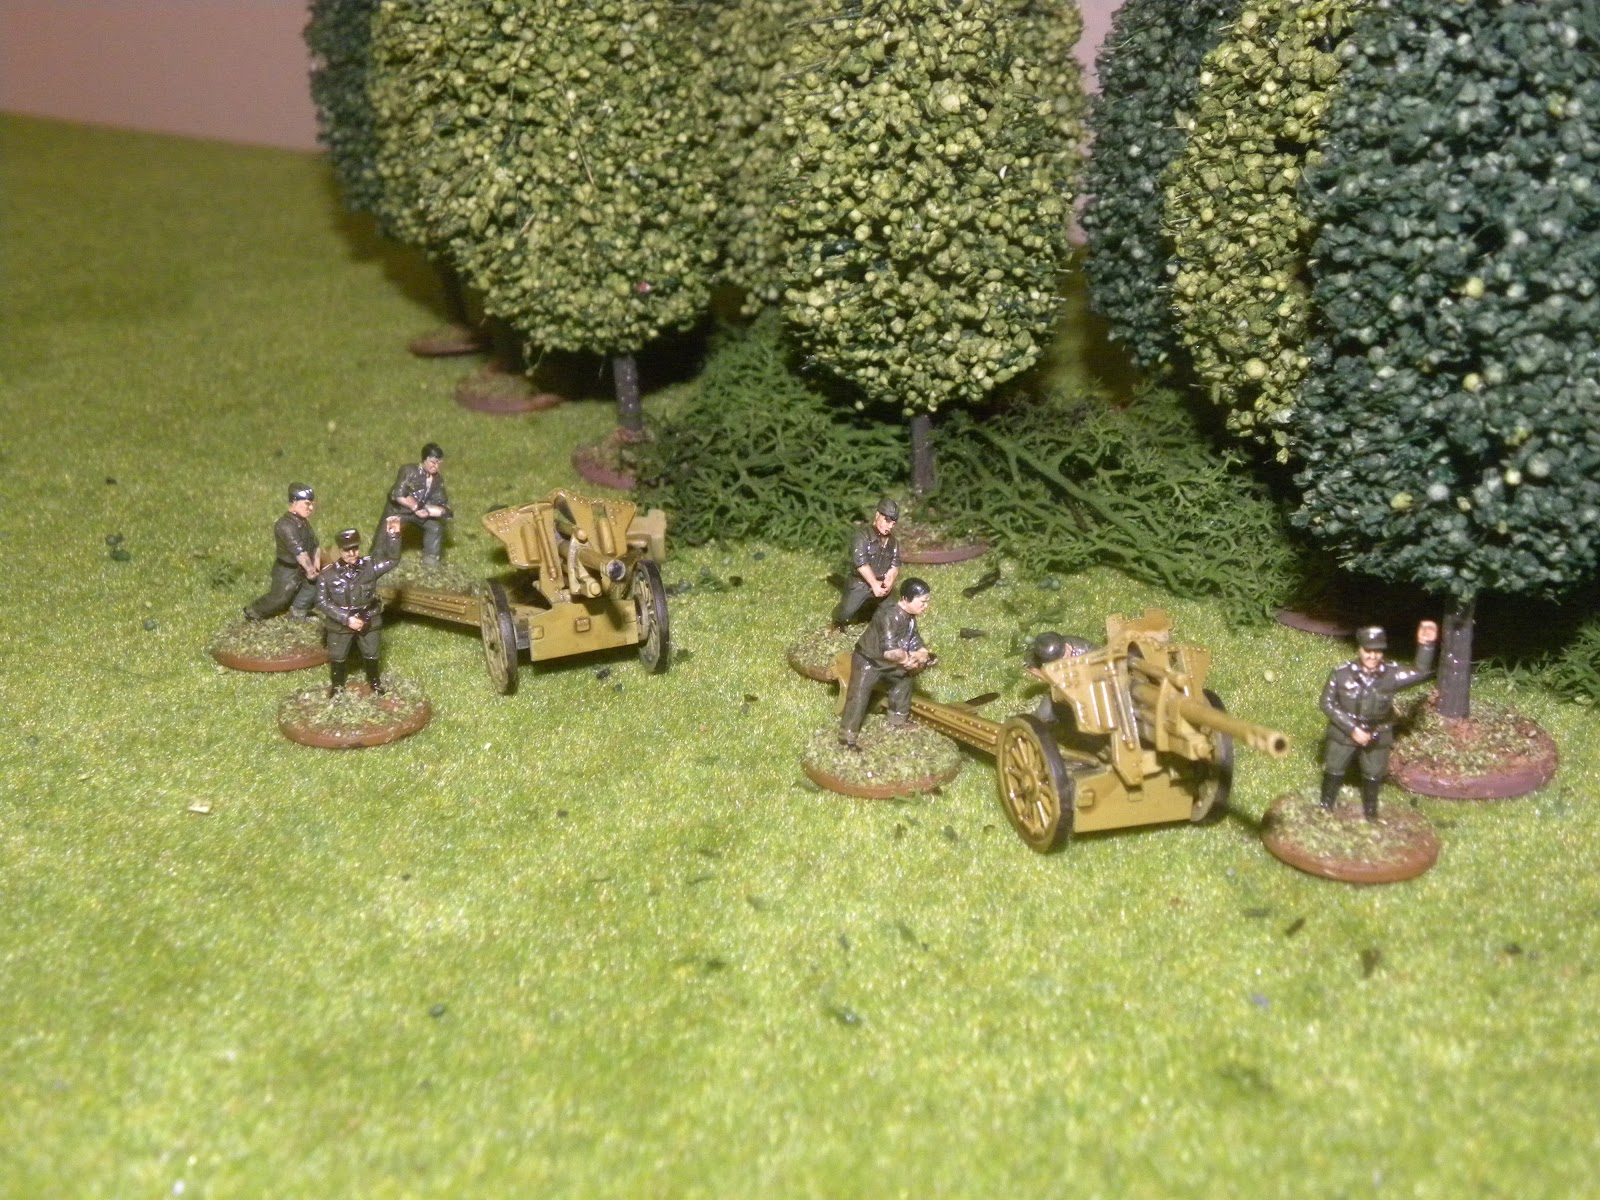
| Vichy. |
 |
| R35 |
 |
| All buildings are taken. Wszystkie budynki opanowane. |
 |
| Victorious Vichy tank. Zwycięski czołg Vichy. |
 |
| Cavalry vs tank. Kawaleria kontra czołg. |
 |
| Vichy air support. Lotnicze wsparcie Vichy. |
 |
| End of the game. Koniec gry. |
Ordre de Bataille:
VICHY
FRENCH PLAYER
HQ
Goumiers
Squad 1 – 10 Veterans,
Goumiers
Squad 2 – 10 Veterans,
Tirailleurs
Senegalais 1 – 10 Regulars,
Tirailleurs
Senegalais 2 – 10 Regulars,
Syrian
Levies – 10 Inexperienced
MMG
– Regular
Schneider
Armoured Car – Light AT+MG
R35
Tank (1) – Light Tank; Light AT+MG
R35
Tank (2) – Light Tank; Light AT+MG
Dewoitine
D.520 – Fighter+MG
ALLIED
PLAYER
HQ –
Officer (rank2)+3 Veterans in Jeep with LMG,
Commandos
– 10 Veterans,
Australians
– 10 Regulars,
Indians
– 10 Regulars,
Foreign
Legion 1 – 10 Regulars,
Foreign
Legion 2 – 10 Regulars,
Arab
Horse – 9 Inexperienced,
Dodge
Tanake – Armoured Car+Light AT+LMG
Crossley
– Armoured Car+MMG
Ford
Truck Portee – Softskin+Light AT
India
Pattern Carrier – Armoured Car+ATR+LMG
For more pictures visit my flickr:
Więcej zdjęć na moim flickr:
http://www.flickr.com/photos/asienieboje/sets/72157631813647828/